Hiring managers likely are familiar with IT service requests, which must be entered for all new and transfer employees who need access to the med center’s IT systems and require hardware, such as a new computer, to do their job.
Service requests, often called SRs for short, are essential to coordinating the work of multiple teams and ensuring that the onboarding process is a smooth one. And this week, all service requests got a major makeover, including the one that is submitted for a new or transfer user.
When to enter an SR for a new user
A big change is that ServiceNow is receiving the latest hiring information from our HR systems, both Nebraska Medicine and UNMC. That means that when a request is being made for a new employee, the requestor will be able to search for them by name and populate their personal information directly into the request.
In order for this to work, a service request can’t be entered before an account is made for the new user. This is typically done 14 days before they start, but the hiring manager will get an email from UNMC/Nebraska Med Identity Services indicating the account has been generated. Once this email is received, that’s the sign that it’s time to enter the SR.
How to enter an SR for a new user
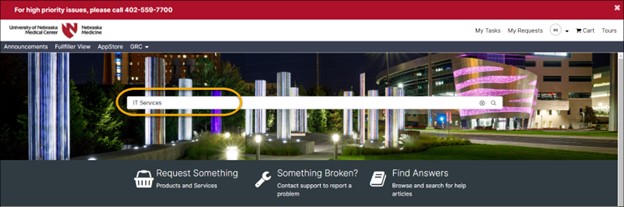
1. ServiceNow, search for the correct catalog item. Searching “IT Services” will get there. So will “New User” or “Transfer User.”
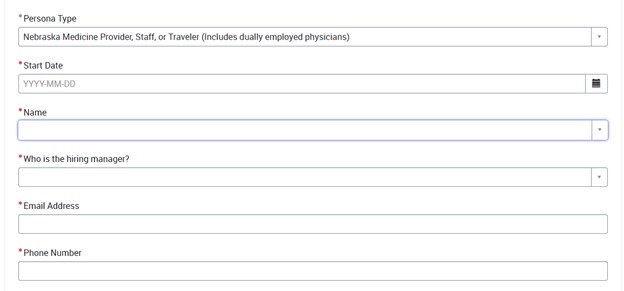
2. From here, fill out each of the fields in the form, beginning with identifying whether the user is new or a transfer. The information needed is different based on each persona type, which include:
- Nebraska Medicine provider, staff or traveler (includes dually employed physicians)
- UNMC faculty, staff, resident or student
- Contractor/vendor/UNMC affiliate
- Locum provider
- Non-UNMC student or resident
- Private practice provider
Required information is marked with a red asterisk, as in the fields below.
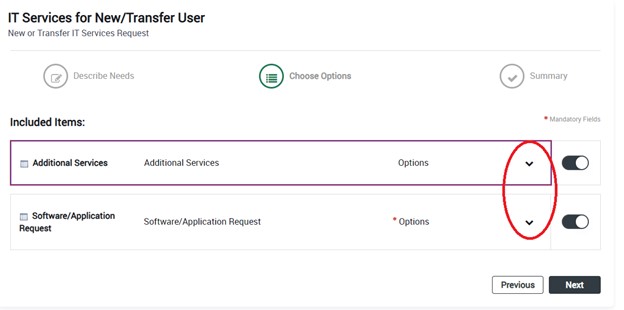
3. After filling out the required information on the first page, click Next and go to the following page, which will allow selection of IT service options. Note: the options will be dependent upon the persona type requested.
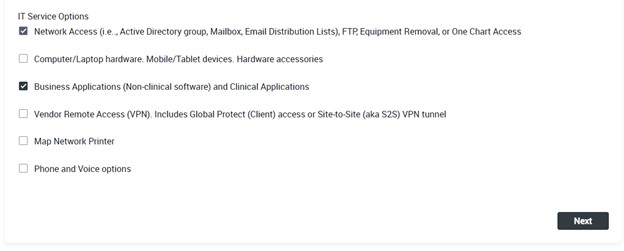
4. From the second page, use the down arrows to expand each section and make the selections.
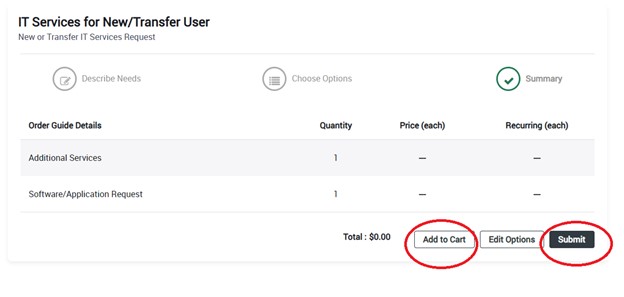
5. When completed with all required sections, select “Next” again and move to the final step in the process, where the summary will be reviewed. From here, either “Add to Cart” with additional catalog items to complete or click “Submit” if this is the only request at this time.
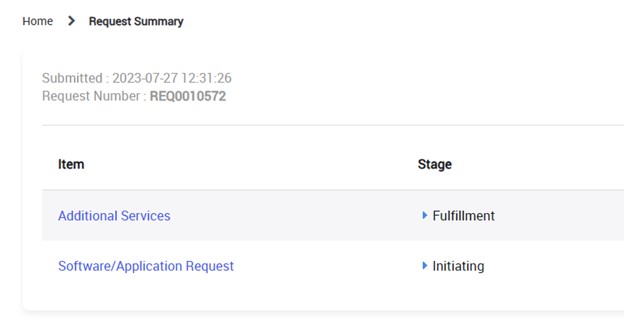
6. After hitting submit, the request is done. A confirmation of your request will follow, including the request number.
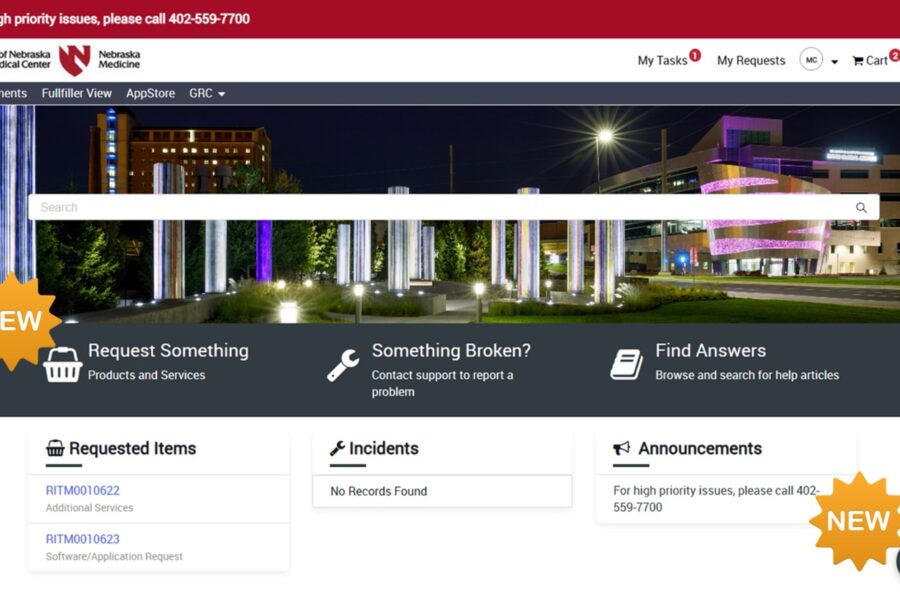
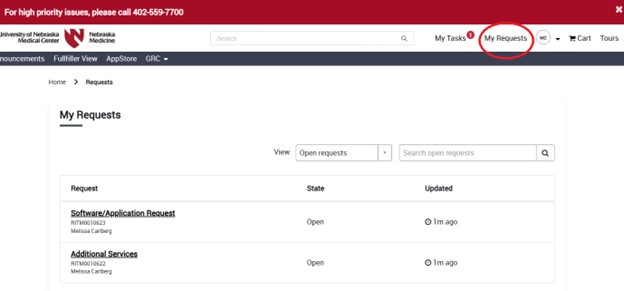
7. Check up on the status of a request any time from the ServiceNow portal by selecting the “My Requests” tab at the top of the screen.
Which applications to choose
A new resource is available for clinical positions, which shows which applications are commonly needed for specific roles. It is visible in the ServiceNow knowledgebase by searching “service request resource.” Bookmark this link.
Other Resources
User guide: How to Submit Tickets and Requests in ServiceNow
Interactive Training Module: ServiceNow Service Catalog Training:
Apollo
- If you are a Nebraska Medicine staff member, physician or dually employed physician, use this Apollo link.
- If you are not a Nebraska Medicine employee or physician and manually created an Apollo account, use this link.
- If you are not a Nebraska Medicine employee or physician and need to create an Apollo account, do it here.
Canvas